Therefore, you need an online tracking tool, and I promise you there are no tools that are both free to use and powerful like Google Analytics. Despite whatever CMS you use, even if it isn’t Joomla, Google Analytics must be the first tracking tool to integrate into your site.
In this article, I will show you every possible and effective way you can install Google Analytics on Joomla.
1. Get Google Analytics tracking code
Despite which method you use for adding Google Analytics (GA) in your Joomla site, first you must have GA account and its tracking code.
Follow these steps to get the tracking code for your website.
Step 1: Go to analytics.google.com, login with your Google account
Step 2: Click “Sign Up” to start using Google Analytic.
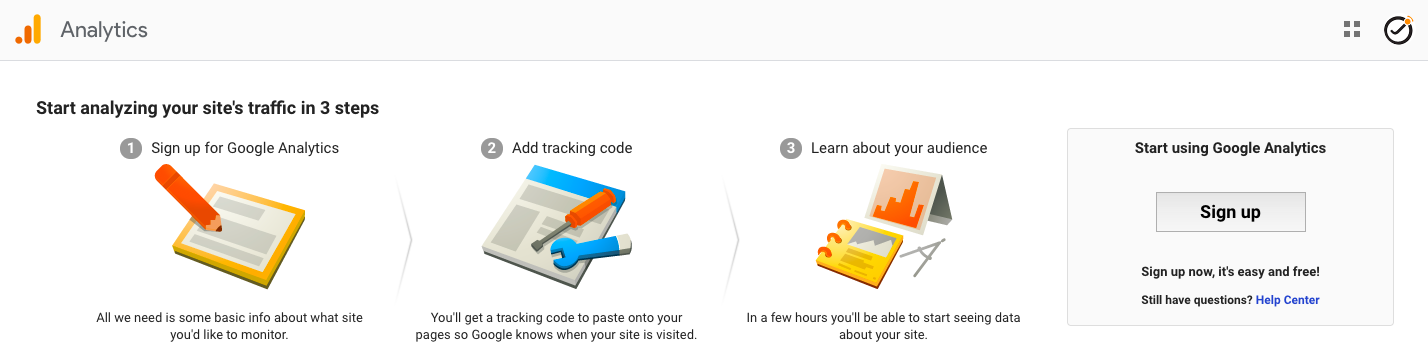
Sign up GA account
Step 3: Fill all your website information, then click “Get tracking ID” at the end.
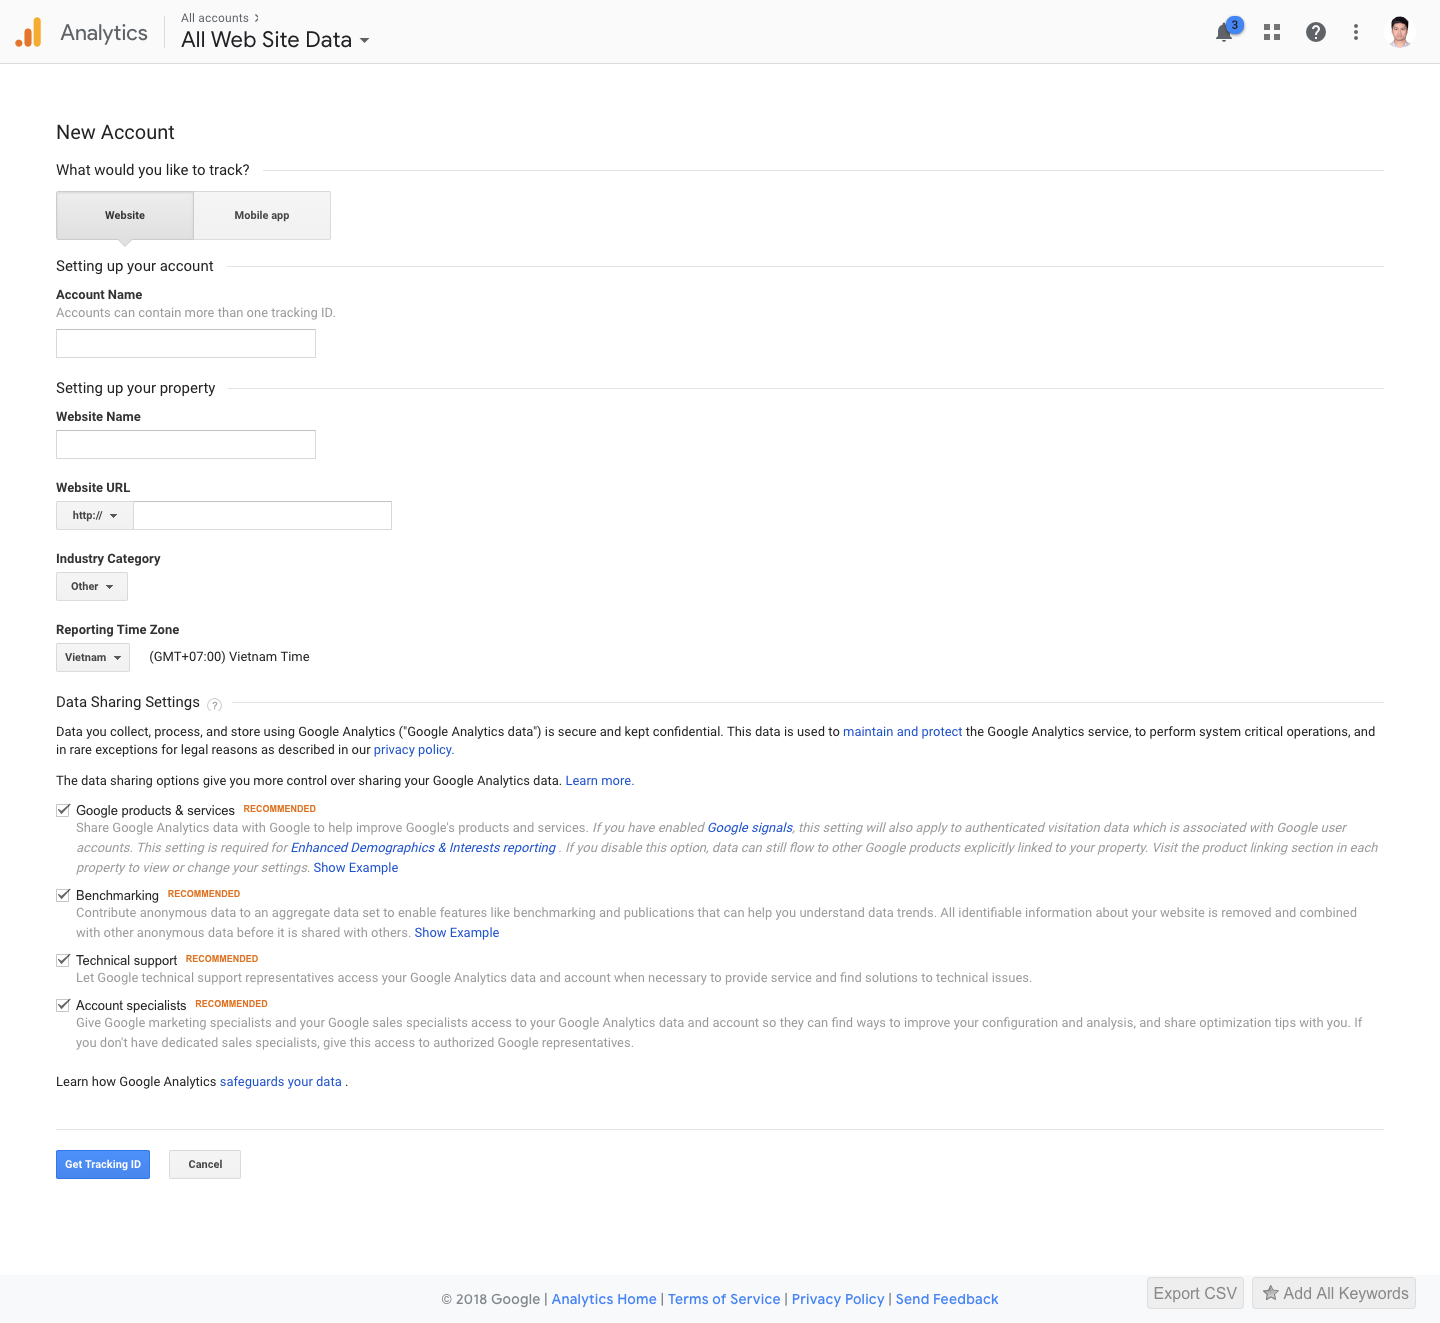
Fill your site detail information when setting up Google Analytic
Step 4: Copy the tracking code, then move to the next section.
![]()
Copy the Google Analytic tracking code
2. Add Google Analytics tracking code into your Joomla site
After getting the tracking code, as per Google instructions, you need to insert the code as the first item into the <head> of every webpage you want to track.
In order to do that in Joomla, you can choose one of the 2 methods below.
- Using Joomla default template
- Using extension
Note: If you happen to read anywhere that you can embed the tracking code before </head> or after <body> tag, I can tell you using that way still make it work. However there is an issue with these methods is that if a user exits your site before the tracking code can load, Google Analytic can not record this session. A 1-second session could indicate there is some problem with your website (high bounce rate, low loading speed, etc), and you can fix it in time.
So, embed it as the first item before <head> tag ensure you can keep track of every session.
Using the default template
For this example, I will demonstrate to you using Protostar template. (Breeze 3 is the same)
Step 1: Login to your Joomla site backend.
Step 2: In the control panel, go to Extensions/Templates/Templates (Site), then chose Protostar Details and Files.
Step 3: Find index.php, and add your GA tracking code right after <head> the tag. Then save it.
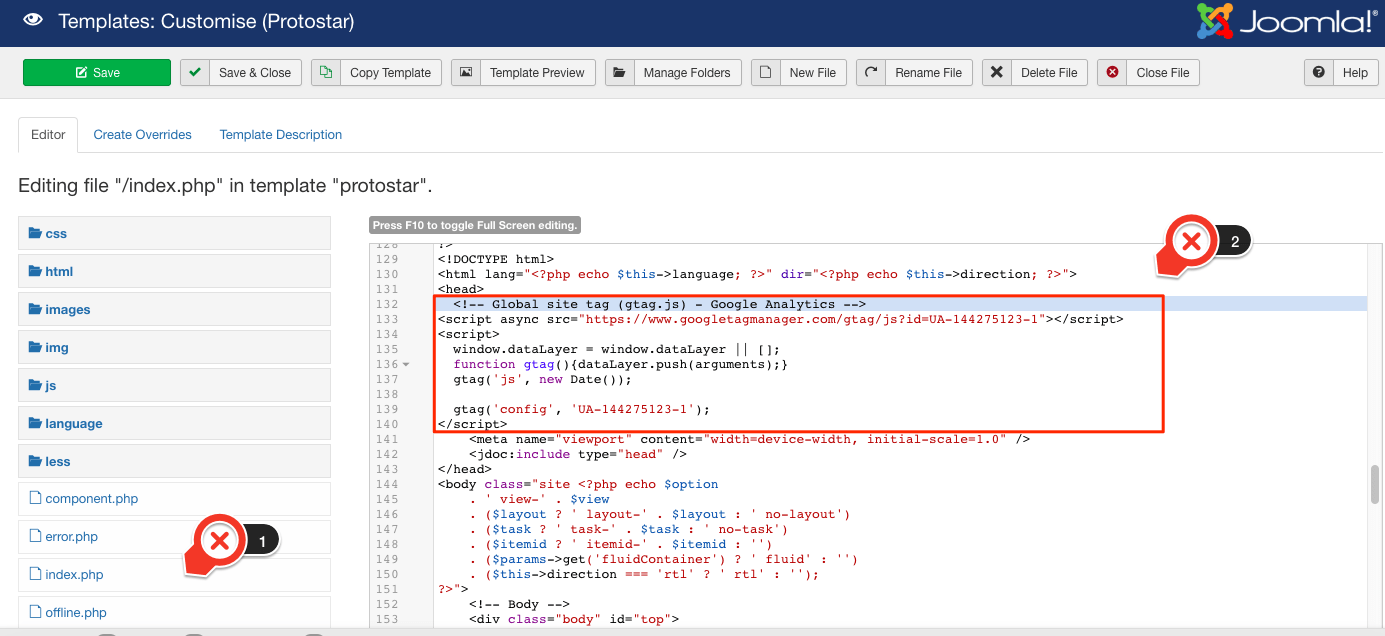
Insert the code after tag in Joomla default template
You have now successfully added your tracking code into your Joomla site.
Using Joomla plugin - extension
If you search on JED, there are many useful extensions - plugins that will help you add your Google Analytics (GA) code easily. However, to save you time, I will present the 2 most convenient and easy-to-use extensions.
Asynchronous Google Analytics
It comes with both a free and paid version. However, for adding GA code, you only need the free version. Please follow these steps to use this plugin.
Step 1: Download the plugin, and install it in your Joomla site.
Step 2: Go to Extensions/ Plugins, search for: System - Google Analytic.
Step 3: In the Options tab, fill in your GA tracking ID.
Note: you can find the tracking ID when getting GA tracking code.
Step 4: Enable the Plugin.
In Summary,
Measuring and tracking is an essential step when you doing SEO, and Google Analytics is a perfect mean for you to oversee your website data.
Hopefully, this article will help you add Google Analytics tracking code to your Joomla site successfully.